How to pleach Portuguese Laurels
Pleached Portuguese laurel is a favourite choice for gardeners seeking structure without heaviness. With its clean lines and evergreen foliage, it delivers a modern classic look while still feeling natural within the garden. It is particularly well suited to narrow gardens, boundary planting, and areas where you want clear space beneath the canopy for contrasting underplanting.
Pleaching is not a one-off task, but a gradual process that develops over time. With patience and good plant care, Portuguese laurel responds beautifully, forming a strong framework that improves with age.
Why Choose Portuguese Laurel for Pleaching?
Portuguese laurel (Prunus lusitanica) is an excellent variety for pleaching thanks to its upright growth habit, glossy dark green leaves, and strong tolerance to regular pruning. Once trained, it provides privacy, soft screening, and architectural interest without taking up excessive ground space.
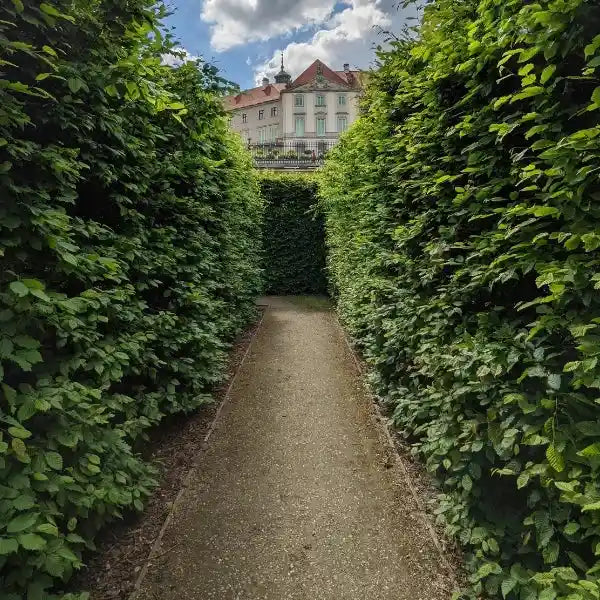
The open area beneath the pleached frame allows for layered planting below, think contrasting flowering shrubs, ornamental grasses or textured ground covers.
5 Steps to Pleaching Portuguese Laurel
1. Choose the Right Location and Prepare Your Soil
Start by selecting a position that receives full sun to part sun. Good soil preparation is essential, as healthy growth makes training and pruning far more successful. Improve the soil with organic matter and ensure good drainage before planting.
Spacing is also important. Allow enough room between each tree so the framework can develop evenly without overcrowding.
2. Select the Right Plants from the Start
The best pleached results begin with the right plant selection. Look for Portuguese laurels with straight, single trunks and a strong central leader. This provides a clean starting point for training and makes the pleaching process far easier over time.
If you are ordering online, let us know at the time of purchase that you are planning to pleach. Our team will carefully select suitable plants to support a neat, consistent outcome.
3. Begin by Removing Lower Branches
Once planted and established, begin removing the lower branches gradually. This helps define the clear stem and sets the framework for pleaching.
Use a pleaching tool with a blade rather than secateurs, as this creates a cleaner cut and reduces damage to the plant. Always remove branches in stages rather than all at once to avoid stressing the tree.
4. Be Patient as the Structure Develops
Pleaching is a long-term garden feature and should never be rushed. As the plants mature and gain height, continue to remove lower growth slowly, shaping the framework over time.
This gradual approach allows the tree to remain healthy and balanced while you guide it toward the desired look. The end result is a strong, well-proportioned structure that feels settled within the garden.

5. Maintain Plant Health with Ongoing Care
Healthy plants are essential for successful pleaching. Water consistently, especially during establishment and warmer months. Feed regularly, alternating between slow-release and quick-release fertilisers to support steady growth.
Finish with a good layer of mulch to retain moisture, protect the roots, and improve soil condition. Regular checks and light pruning will keep the structure tidy and encourage even growth.